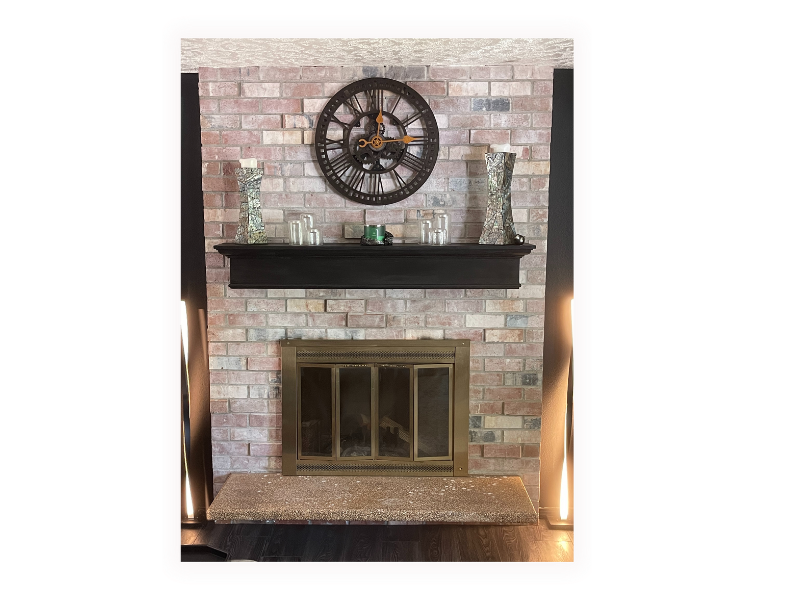
How we used whitewash to transform our brick fireplace.
*This post may contain affiliate links. Please see affiliate disclosure here.
As an Amazon Associate I earn from qualifying purchases.
Whitewashing might sound intimidating but I found this project to be very beginner friendly AND it was super affordable. I am going to share with you the steps I took to transform our brick fireplace.
We purchased a home built in the 70s and have been slowly adding our personal touches. Our house has two brick fireplaces and brick siding on the exterior. Although I do love the brick, I was not in love with the color. After a lot of research, or I guess you could say scrolling through pins on Pinterest, we decided to go with a whitewash.
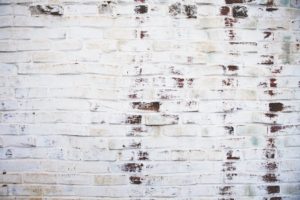
Whitewash or limewash? What’s the difference?
If you are like me, you may have scrolled through various pins and noticed there is whitewash and limewash. What is the difference? Well from my understanding limewash is essentially made from crushed and processed limestone, and just like whitewash, it is mixed with water to create your paint. The outcome is a white finish with some natural hues. Limewash will allow the brick to breathe and is easier to remove if you decided to make a change in the future. With that in mind, this is not a permanent feature. The wash will erode over time and require another coat.
Whitewash is made using paint and water. This mixture will give you a smoother appearance, can last for many years, and provides many color options. Like limewash, there are some cons to this method that you may consider as well. The cost of paint can be higher than the limestone making a larger project a bit more costly. This method is not easy to change and maintaining the consistency of your mix can be tricky.
I find that each of these methods is great depending on your wants and needs. We wanted to go with the more permanent option so we chose a whitewash.
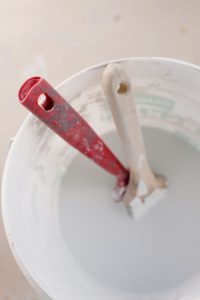
Supplies and Prep before whitewashing
Here is the list of supplies for this project.
- 1 qt of white paint. Latex or water-based.
- Large chip brush- (We used this one from Amazon https://amzn.to/3OxM8gh)
- Water
- Bucket to mix the wash. We used a Home Depot bucket.
- Rags
- Hard Surface Cleaner (We used TSP Crud Cutter like this one sold on Amazon, https://amzn.to/43jcXcd )
- Scrub Brush
Before you begin you will want to prep your area. We used a hard surface cleaner like TSP and a scrub brush to give our fireplace a good scrub-down. The exterior of our home was much easier, we used our pressure washer to wash away all the dirt, bugs, etc.
The next step is to tape off the edges and cover anything you don’t want to be splattered with paint. You can use a tarp, painter’s cloth, or an old sheet. Whatever works for you. This is an easy project but a bit messy.
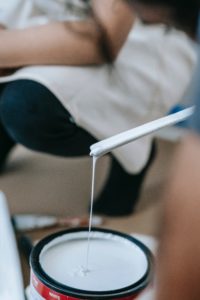
Applying the whitewash
Once you have prepared your workspace you can mix up your whitewash. This was my first-time whitewashing anything, so I went with less paint and used about a 3/1 ratio if not slightly less than that. The solution will be watery, this is where the mess comes in. Using your thick brush, test out your mixture on a small section to see if you like the coverage.
Brush on the solution and then wipe it off with a damp rag. You can adjust how white you want the final product to be by adding or reducing your paint. It really is that simple. Once you have the consistency you like, start at the top and work your way down. Brush on the paint followed by wiping it with a damp cloth.
Below is a before and after photo of our fireplace.
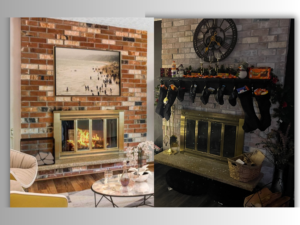
The whitewash 100% brightened up the brick and brought our living room into this century. I also love how the light color contrasts with our dark accent wall and our black mantle.
For anyone interested, our mantle was purchased from Amazon. This is the 60″ Bellamy from Mantles Direct. This is sold in 3 sizes and 4 different finishes.
